
Latest Blog Posts
Delta membrane
Delta membrane Leytonstone
Read more18th February 2016
Sometimes, all a room needs to get it looking perfect is a fresh coat of paint. For any practical-minded homeowner, it's also an easy job that you can complete in a weekend. Best of all, you'll save a small fortune by doing it yourself rather than hiring a professional painter or handyman. By following the steps in this guide, you'll be able to completely transform a room in a matter of hours.
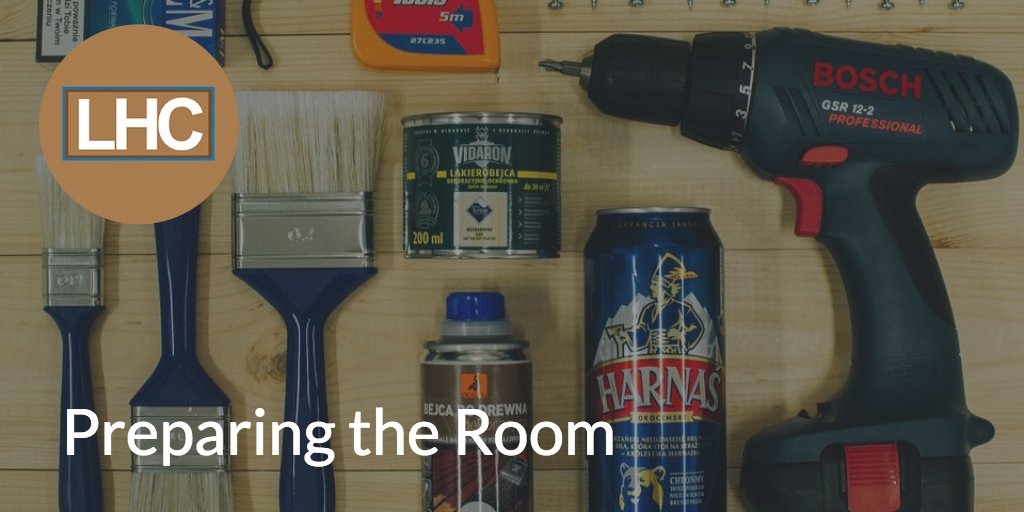
Before you get started, you'll want to remove as much furniture as possible from the room and make sure the floor is covered entirely by some plastic sheeting or other protective barrier. Drips and spills are inevitable, particularly if you're using a roller, so make certain everything is protected. If you intend to paint the windows and doors as well, remove any fittings from them first to make the job easier.
Unless you have a very steady hand, cover any skirting boards, coving and any other fixtures you don't want to get paint on by using masking tape. Again, if you're planning to paint the windows, using masking tape to carefully cover the glass next to the areas you want to paint can make the job much easier.
Since you'll be using a chemical-based paint for wooden surfaces, which is much more difficult to clean off than the water-based emulsion you'll be using for the walls, it is particularly important to make sure the surrounding areas are adequately protected.
If there is any damage, such as cracks or holes, in the walls or ceilings, be sure to patch them up with wall filler. Once the putty has dried, smooth it over with some fine sandpaper and vacuum away any dust from the area.
Professional painters almost invariably use a selection of rollers, allowing them to paint an entire room in very short order. However, they can be rather messy in the hands of amateurs, in which case you might want to consider using a paint pad. You'll also need a small brush for finishing edges and corners.
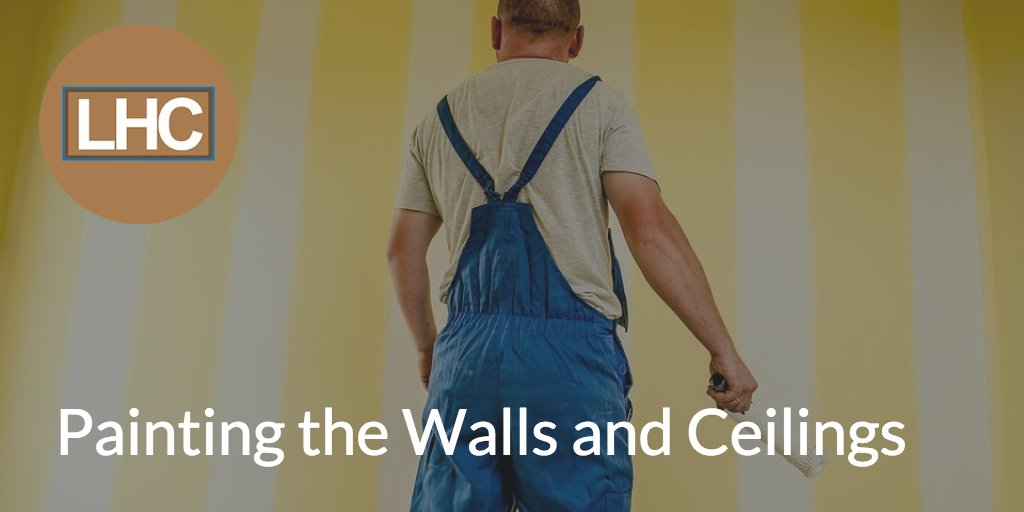
Always start with the ceiling using an extension pole for the roller if you cannot comfortably reach it without standing on a stepladder. Be careful not to overload the roller or brush, since you'll end up making a huge mess. If you're planning to paint the walls the same colour, use a brush to make sure the corners are thoroughly covered.
Fortunately, the most difficult part of the job is out of the way, and you'll be ready to paint the walls. However, for best results, wait until the ceiling is dry, particularly if you're going to paint the walls a different colour. Paint the walls in vertical lines, finishing off any edges and corners with the brush.
Once you've finished painting the walls, be sure to close the paint tin properly, and leave the brush to soak in plenty of water.
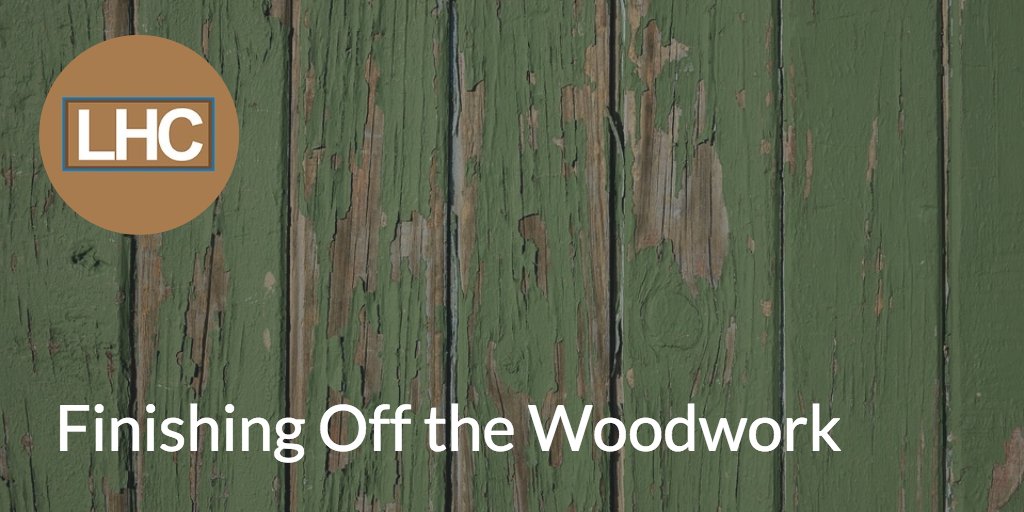
Painting woodwork, such as skirting, coving, windows and doors is usually a lot more time-consuming, but it will make the end result look far better. If you're painting over any bare or nearly bare wood, you'll need to first give it a coat of primer before leaving it overnight to dry and applying an undercoat. You should only apply the finishing coat (typically a high-gloss paint) after the surface has received a layer of primer and undercoat. Fortunately, you can save yourself a lot of work by using a combined primer and undercoat, particularly in the case of interiors.
You'll need to use a small brush, protecting any surfaces you don't want to get paint on with some masking tape. You'll also need to have some good weather to start working on the windows, since they'll need to be open so you can paint the areas near the stays and pins. Gloss paint is also fairly toxic, so you'll need to work with plenty of ventilation. The paint takes much longer to dry than water-based emulsion, but it should be dry enough to touch and close the windows after a few hours, provided there is adequate ventilation. For best results, start early in the morning with this job.
When painting wooden surfaces, always make sure they are completely smooth and free of dust and dirt. You may need to use a fine sandpaper to ensure the surfaces are properly prepared. When doing the brush work, always move with the grain of wood where possible, since it will make the job easier and the result better. Most importantly, keep an eye on any drips, particularly around panel corners, and get rid of them before they dry.
Once you're done painting the woodwork, carefully seal the paint tin and leave the brush to soak in some turpentine. Turpentine is used to clean brushes and spills from chemical-based paints and varnishes, since it is particularly effective.
Painting is one of the most important areas of home decorating, and it's a very useful skill to learn, particularly if you're planning a major facelift for your home. If you're wanting to try out some DIY, painting is one of the best jobs to start with, since it truly is something anyone can do. After a weekend spent wielding the brush, you'll be amazed by just how much you can transform your home.
To get a bespoke damp proofing or cellar tanking quote today, call now on 0208 365 3724 or click here to email us.
Delta membrane Leytonstone
Read more